Ledger.com/start – Your Trusted Path to a Safe Ledger Wallet Setup
As digital currencies continue to gain popularity, the importance of protecting crypto assets has never been greater. Cryptocurrency operates without banks or centralized authorities, meaning users are fully responsible for safeguarding their funds. One mistake can result in permanent loss. To reduce this risk, many investors choose Ledger hardware wallets. The correct and secure way to begin using one is through Ledger.com/start.
This guide explains the purpose of Ledger.com/start, how the setup process works, and how users can maintain strong security from the very beginning.
What Is Ledger.com/start Used For?
Ledger.com/start is the official setup page created by Ledger to help users initialize their hardware wallets securely. It provides verified instructions, genuine software downloads, and device-specific guidance to ensure the wallet is configured properly.
Because crypto scams often involve fake websites and fraudulent apps, starting at Ledger.com/start helps users avoid phishing attempts and compromised software. It ensures that every step of the setup process follows Ledger’s official security standards.
Why Hardware Wallets Matter in Crypto
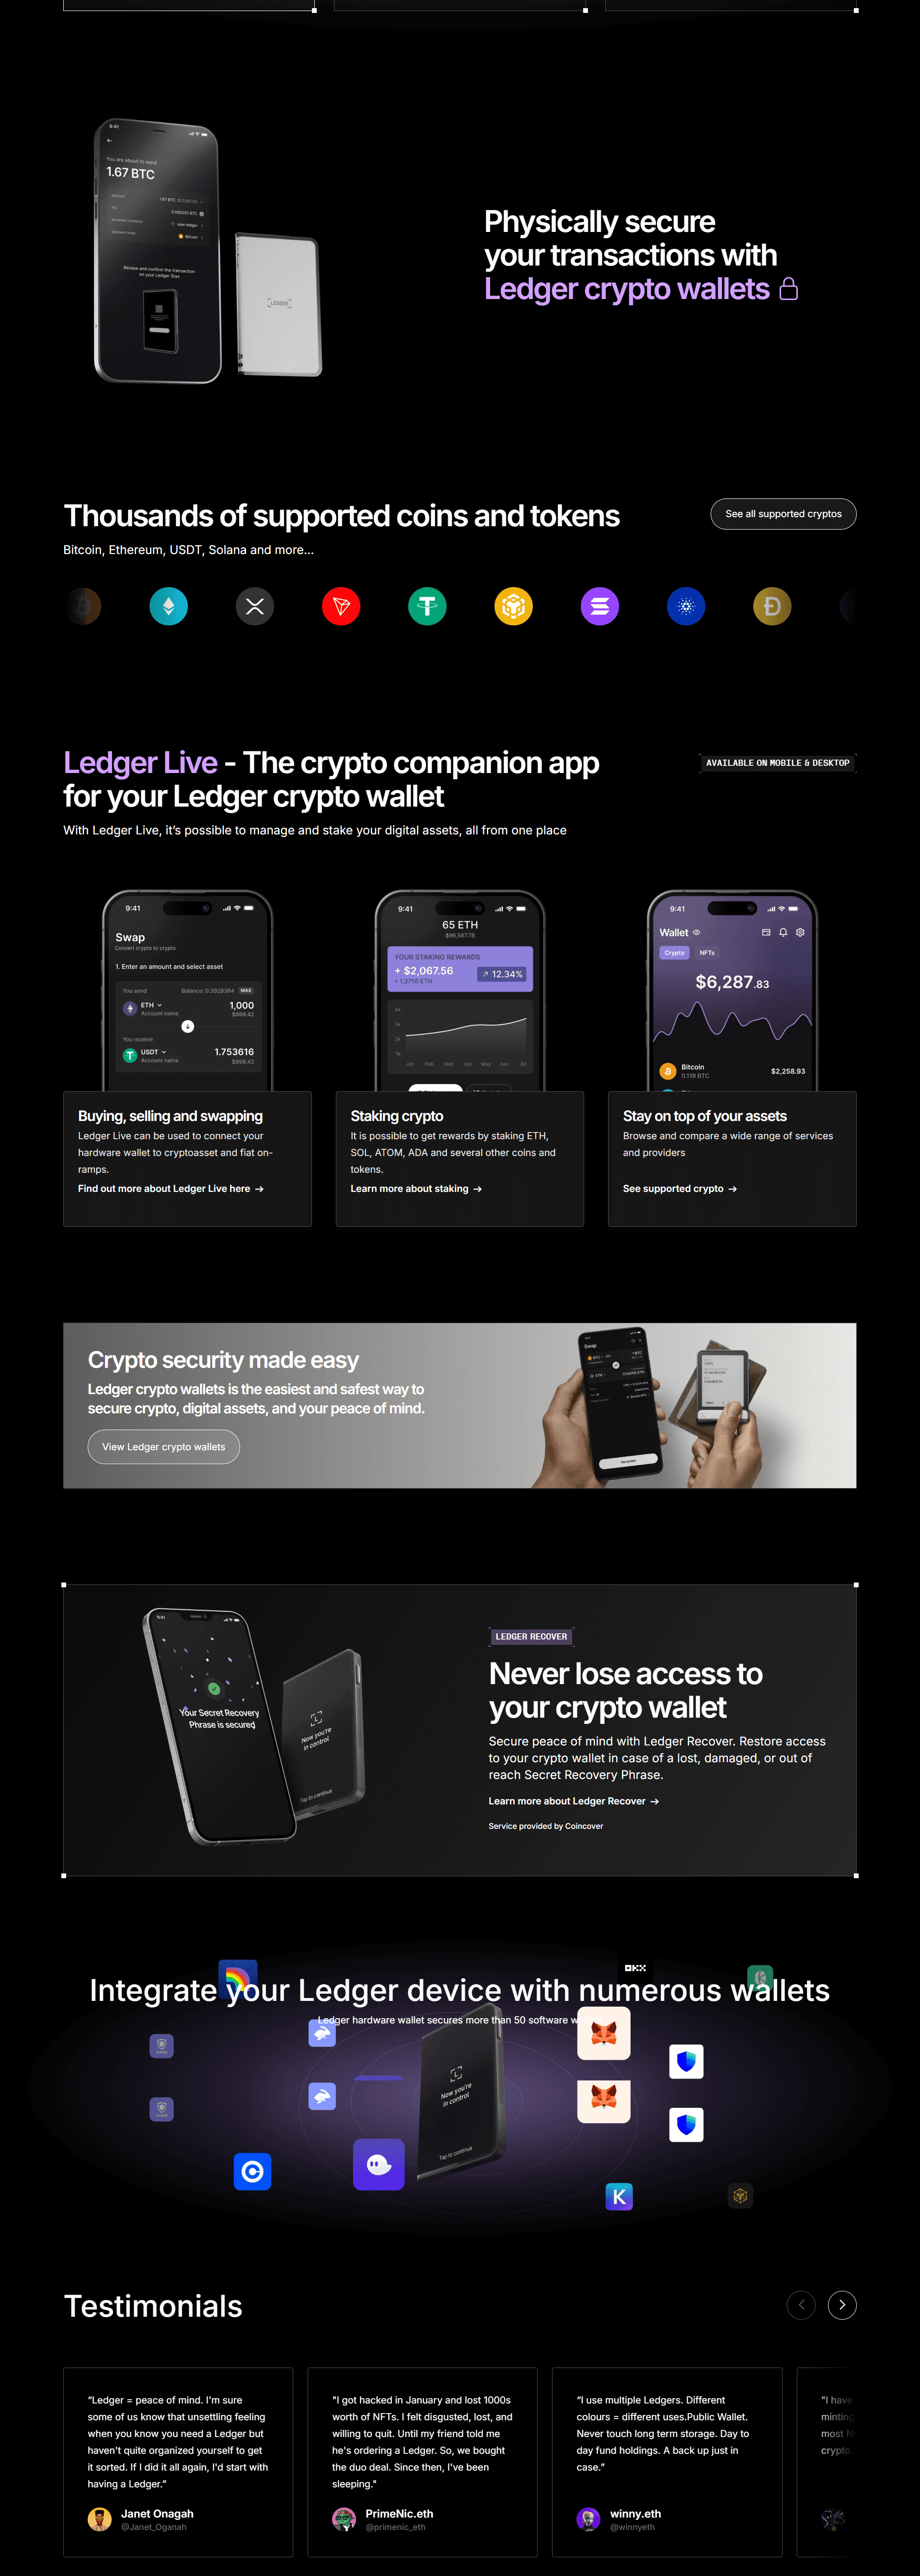
Unlike online wallets or exchange-based storage, hardware wallets keep private keys offline. Ledger devices use a specialized Secure Element chip that isolates sensitive information from internet-connected devices.
This design offers several advantages:
Private keys are never exposed online
Transactions must be physically approved on the device
Protection against malware and unauthorized access
Support for thousands of cryptocurrencies
Complete ownership without reliance on third parties
Ledger wallets are built for users who want long-term security and direct control over their digital assets.
How Ledger.com/start Helps New Users
Ledger.com/start simplifies the setup process by breaking it into clear, manageable steps. Even users with no technical background can complete the process confidently by following the on-screen instructions.
Each step is designed to protect the user from common mistakes that often lead to lost funds.
Step 1: Identify Your Ledger Device
At the beginning of the setup, you will be asked to select the Ledger model you own. Common options include:
Ledger Nano X
Ledger Nano S Plus
Each model has unique features, such as Bluetooth support or storage size. Choosing the correct device ensures the setup instructions match your hardware.
Step 2: Download the Ledger Live Application
Once the device is selected, Ledger.com/start directs users to download Ledger Live, the official software used to manage Ledger wallets.
Ledger Live allows you to:
Install cryptocurrency apps on your Ledger device
Create and manage multiple crypto accounts
Send and receive digital assets
View balances and transaction history
Update device firmware securely
For safety reasons, Ledger Live should only be downloaded through Ledger.com/start.
Step 3: Connect and Initialize the Wallet
After installing Ledger Live, connect your Ledger device to your computer or smartphone using the provided USB cable or Bluetooth (for Nano X).
You will then choose between:
Creating a new wallet
Restoring an existing wallet using a recovery phrase
New users should always select “Create a new wallet” to generate fresh private keys.
Step 4: Set Up a PIN Code
During setup, the Ledger device will prompt you to create a PIN code. This PIN protects the wallet if the device is lost or stolen.
Important PIN tips:
Avoid simple or repeating numbers
Do not reuse PINs from other devices
Never share your PIN with anyone
If the wrong PIN is entered multiple times, the device automatically resets to prevent unauthorized access.
Step 5: Secure the Recovery Phrase
The most critical step in the setup process is backing up the 24-word recovery phrase. This phrase is the only way to recover your wallet if the device is damaged, lost, or replaced.
Best practices include:
Writing down the words in exact order
Storing the phrase offline in a safe location
Never saving it digitally or online
Never sharing it with anyone
Ledger does not store this phrase and cannot retrieve it if lost.
Step 6: Verify Your Backup
To confirm accuracy, the Ledger device will ask you to verify the recovery phrase by selecting the words in the correct order. This step ensures your backup is valid and usable.
Skipping or incorrectly completing this step could result in permanent loss of access to your assets.
Step 7: Add and Manage Crypto Accounts
Once setup is complete, you can add cryptocurrency accounts using Ledger Live. Ledger supports a wide variety of assets, including:
Bitcoin (BTC)
Ethereum (ETH)
XRP
Solana (SOL)
Cardano (ADA)
Polygon (MATIC)
Thousands of tokens across multiple networks
After adding accounts, you can securely send, receive, and manage your crypto holdings.
Security Habits to Follow After Setup
To maintain wallet security over time, users should follow these essential practices:
Always use Ledger.com/start for official downloads and updates
Never enter your recovery phrase on websites or apps
Verify transaction details on the Ledger device screen
Keep Ledger Live and firmware updated
Store recovery phrases in secure physical locations
Ledger will never ask for your PIN or recovery phrase.
Mistakes That Put Crypto at Risk
Many crypto losses occur due to preventable errors. Avoid these common mistakes:
Downloading Ledger Live from unofficial sources
Buying second-hand or preconfigured devices
Taking photos or screenshots of recovery phrases
Responding to unsolicited “support” messages
Entering recovery phrases into online forms
Ledger.com/start is designed to help users avoid these risks from the start.
Final Thoughts
Ledger.com/start is the official and safest way to begin using a Ledger hardware wallet. By carefully following the setup instructions, users can ensure their device is genuine, their recovery phrase is secure, and their digital assets remain fully under their control.